
When Apple launched the iPhone 12 series, one of the defining features that would separate the iPhone 12 and iPhone 12 mini from the iPhone 12 Pro and iPhone 12 Pro Max was the Apple ProRAW image format. With the iPhone 13 lineup, the ProRAW feature is also available on the iPhone 13 Pro and iPhone 13 Pro Max, so if you have the iPhone 13 mini or iPhone 13, then this feature is also absent. ProRAW is Apple's take on the RAW image format, which is commonly used in professional photography with DSLRs and mirrorless cameras. RAW format allows the photographer to get the most data out of the image during the editing process, making it the best format to shoot in if you want complete and total control of the editing process.
So if you have an iPhone 12 Pro/Pro Max or iPhone 13 Pro/Pro Max, then you are capable of shooting in Apple's ProRAW format. But what makes Apple ProRAW better than the standard JPEG or HEIC default formats on the best iPhone? Let's take a look.
What is ProRAW?

ProRAW is Apple's version of the RAW image format, but it's not a true RAW image. Traditional RAW images are not intended to be viewed immediately since they're just the actual data that is captured by the camera's sensor — they need to be processed and edited to your liking. Think of it as "cooking" up a photo before it's ready to be consumed. When you shoot in HEIC or JPEG with your iPhone, you're basically allowing Apple's computational photography algorithm to "process" the image first so that it looks good enough without any further editing, though that's always a possibility.
With ProRAW, it's like a hybrid of RAW and JPEG/HEIC. When you shoot with ProRAW, you're getting a 12-bit RAW DNG file with 14 stops of dynamic range. ProRAW format allows Apple to use its signature computational photography features while still giving us as much of the pure data as possible to use in editing. Of course, with all of this data in the image, ProRAW files will be fairly large — an average of 25 MB each — whereas the usual JPEG could be around 3-5 MB, and a HEIC could roughly be 1-3 MB on average.
So while ProRAW is a great new feature that gives you even more control when it comes to editing your photos, keep in mind that they are much larger in size. You could easily go through the rest of your iPhone's storage capacity if you capture everything in ProRAW, so make sure that you only use it on photos that you intend to edit to perfection later.
How do you enable ProRAW?
It's important to note that the only devices that are capable of using Apple's ProRAW format right now are the iPhone 12 Pro, iPhone 12 Pro Max, iPhone 13 Pro, and iPhone 13 Pro Max. If you have the regular iPhone 12 or iPhone 13, iPhone 12 mini or iPhone 13 mini, or an older iPhone, then, unfortunately, you can't shoot in ProRAW. However, you could always use third-party apps to shoot regular RAW photos. Keep in mind that the regular RAW format will lack the same computational photography that Apple uses for its ProRAW format.
- Launch Settings on your iPhone 12/13 Pro or iPhone 12/13 Pro Max.
- Scroll down and tap Camera.

- Tap on Formats.
- Make sure that the Apple ProRAW toggle is ON (green).

You are now ready to shoot in ProRAW! Even though you have it enabled, you'll still have to turn it on when shooting in the native Camera app. That's because ProRAW files are large, and if you have it on for every photo you take (especially if you like to take a million pictures of your pet), then you can kiss your device's storage space goodbye.
If you are sure that you want to take a photo in ProRAW format, tap the RAW indicator while in the Camera app (if it's on, it won't have a line through it).

Limitations of ProRAW
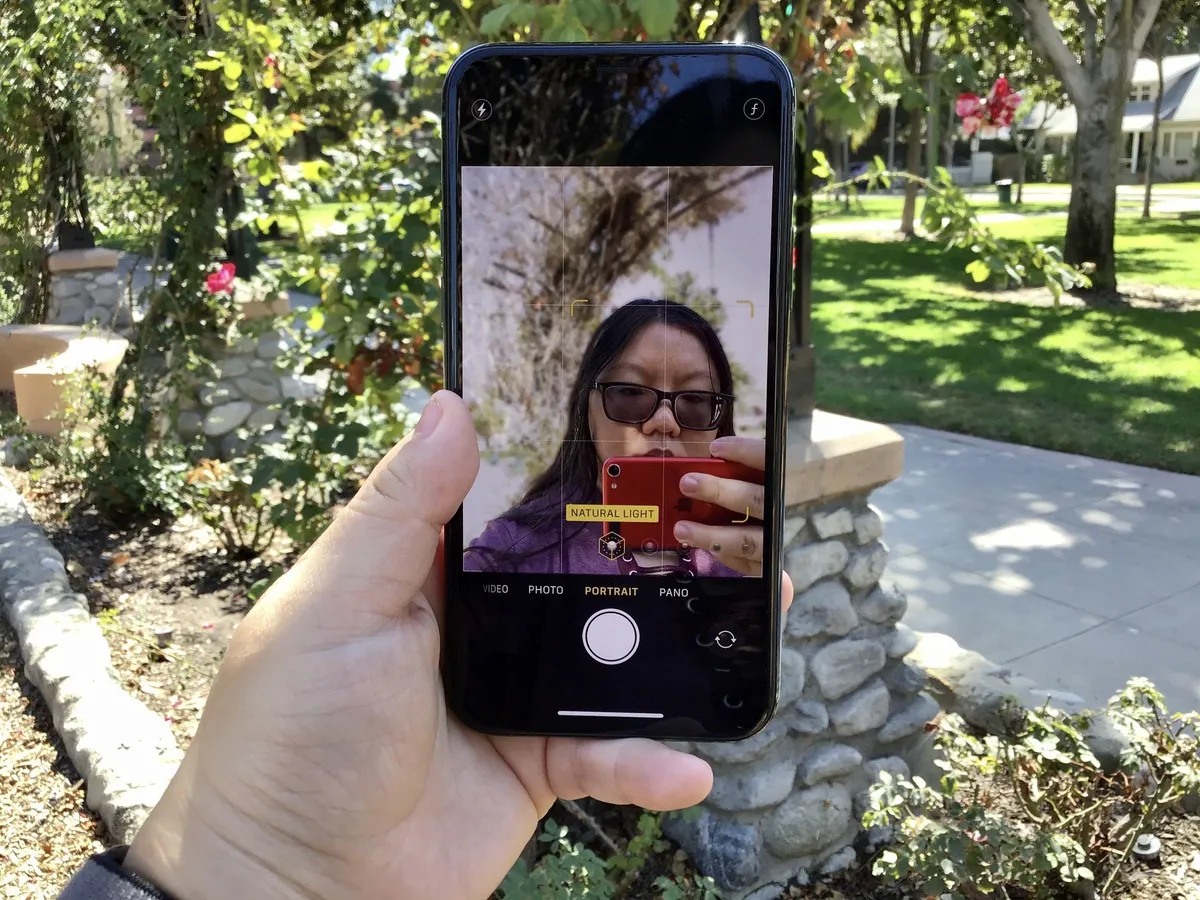
Since ProRAW uses software (it is computational photography, after all), it does have some limitations. While it works great with Night mode (originally launched with the iPhone 11 series), ProRAW will not work with Portrait mode. That's because Portrait mode already heavily relies on computational photography for layering and artificial blur, so you can't pile that on with ProRAW.
Perhaps this would be a possibility in the future, but for now, know that ProRAW only works with Night mode, and you cannot use it with Portrait mode.
Is ProRAW worth using?
If you do not have a DSLR and want to use your iPhone 12 Pro/Max or iPhone 13 Pro/Max as your primary camera, then ProRAW is a feature that is worth making use of, as long as you intend to fine-tune the photos later and don't plan on keeping them on your device long-term.
While it may be hard to tell on the surface (especially in the Photos app), ProRAW photos definitely have a more muted and smoother appearance than a processed JPEG/HEIC image. Of course, you may prefer the JPEG/HEIC photo at first glance, but that's because it's already been processed to look good as-is — RAW and ProRAW photos need a little bit of work before they can look just as good. It's also best to use a photo editing app to see the differences, as I honestly found it impossible to tell from just the Photos app by itself, and that's probably because the ProRAW format utilizes computational photography similar to Deep Fusion and Smart HDR.

For example, the two photos above feature a park gazebo in the evening, during the sunset. The standard JPEG version (left) of it features a bright blue sky, making it appear as if it's during the day (but it's not). The lights are also somewhat washed out and overblown. The texture also feels like it's too sharp, and the color is way more yellow than it should be. The ProRAW version (right) has smoother textures, more true-to-life color with fewer blowouts in the lights, and a muted sky. If you zoom in, the standard JPEG also has more noise, thus losing detail, while the ProRAW version doesn't get as noisy and has more detail.
From the average user standpoint, a ProRAW photo doesn't look too much different than an already processed JPEG or HEIC. However, when you dive into editing a ProRAW image in an app like Darkroom, you get even more control over individual elements. For example, as I was editing the above images in the Darkroom iOS app, the ProRAW version gave me access to exposure and tone adjustment, which were absent from the regular JPEG. I also applied the same exact adjustment numbers I did on the ProRAW with the JPEG version (minus exposure and tone map since those aren't available for non-RAW), and the differences are quite stark.

Of course, you may prefer to just use iOS' "Auto Enhance" feature in the Photos app, or maybe my edits aren't to your liking. That's the thing with photography — it's all subjective, and everyone's taste can differ. With ProRAW, you can edit an image even further to your own liking and preferences.
Simply put, if you want to have the most control in the editing process for an image to make it perfect, then ProRAW will be your best friend. This will be especially true if you want to spruce up your travel shots or other special photos — just make sure to move them off of your iPhone eventually, because they will take up a lot of space. However, if you just want to shoot everyday photos and share them with others, then you're fine with just using the standard JPEG/HEIC format.
ProRAW is not designed to be "better" than the standard iPhone image formats — at first glance, the differences can be very small and negligible, but sometimes you just want to have those small details and finer levels of editing. With that in mind, having the option to go with a ProRAW image with an iPhone 12/13 Pro or iPhone 12/13 Pro Max makes it a worthy upgrade.
What about third-party apps?

There are a handful of apps out there that are the best when it comes to capturing and editing RAW files on your iPhone and iPad. I personally like to use Halide, Pro Camera by Moment, or Darkroom on my iPhone 13 Pro. If you have ProRAW enabled on your device, then you can easily toggle to that (rather than regular RAW format) in these apps as well. It may differ from app to app but should be easy to find — for example, in Moment, just tap on the file format above the viewfinder and make sure it's set to ProRAW (after you enable it in the app settings).

Halide is an award-winning camera replacement app that gives users pro features in a simple and intuitive interface. It is fully compatible with Apple's ProRAW format, as well as regular RAW and more.

Moment is a brand that is known for creating a variety of photo accessories for the iPhone. This app gives you better manual controls, improved video recording, long exposure, ProRAW and RAW support, and so much more. You don't even need a Moment lens to make full use of this app.

Darkroom has a mobile-first interface that is easy to use for photo editing. It supports ProRAW format and so much more, and it has computational processes to make your photos look outstanding.
Feel like a pro with Apple ProRAW
As you can see, Apple ProRAW is a great image format to shoot in if you want total control in the editing process. Once you enable it, just remember to toggle ProRAW on when shooting in the native Camera app, or your third-party app of choice. Even though you can enable it in the device settings, shooting every image in ProRAW will take up a ton of gigs on your device, so make sure to only use it if you intend on editing it right after. Otherwise, kiss that storage space goodbye, even if you have 1TB!
Updated May 2022: Updated with iPhone 13 Pro devices.


How to connect your Apple Watch to a treadmill or exercise bike

The Lofree Dot Foundation mechanical keyboard is the nicest-sounding keyboard I’ve ever used — but bigger hands may tap typos

Delta iPhone emulator also works on Mac and Apple Vision Pro — but you'll need a controller for the best experience


